How To Draw an Angel
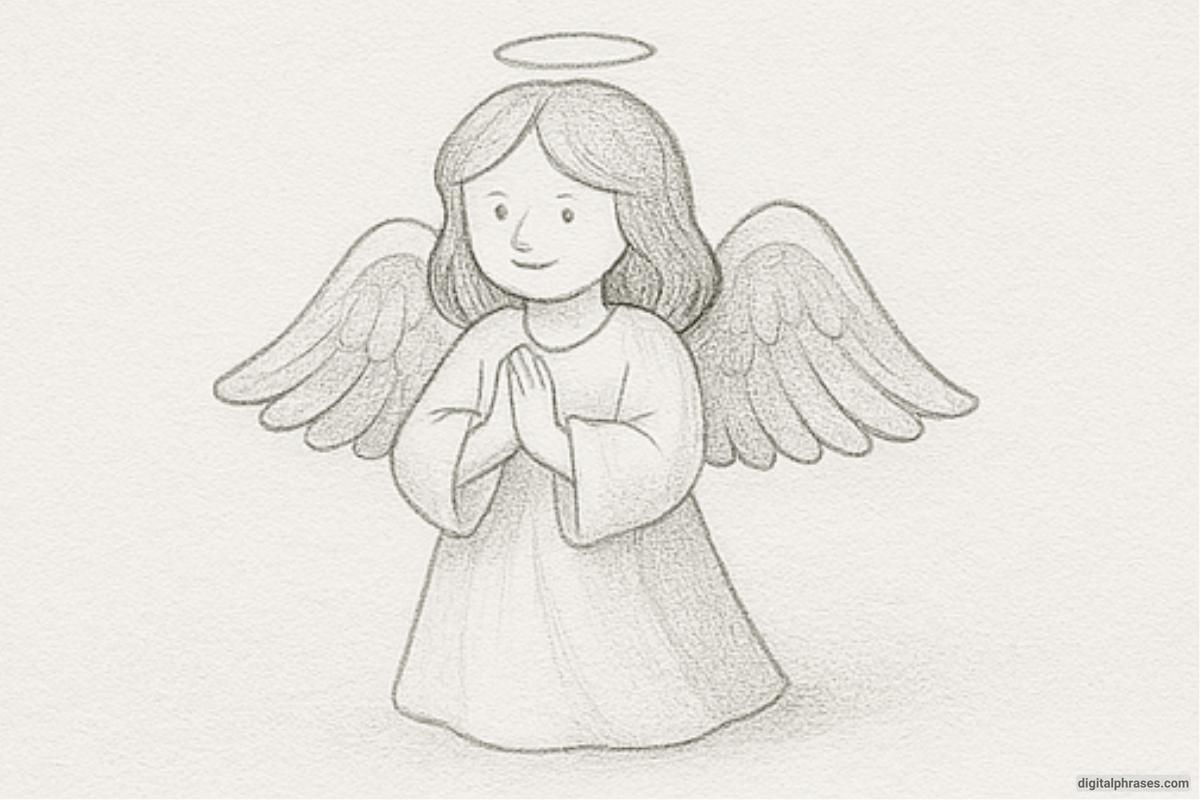
Here is a step by step guide on how to draw an angel.
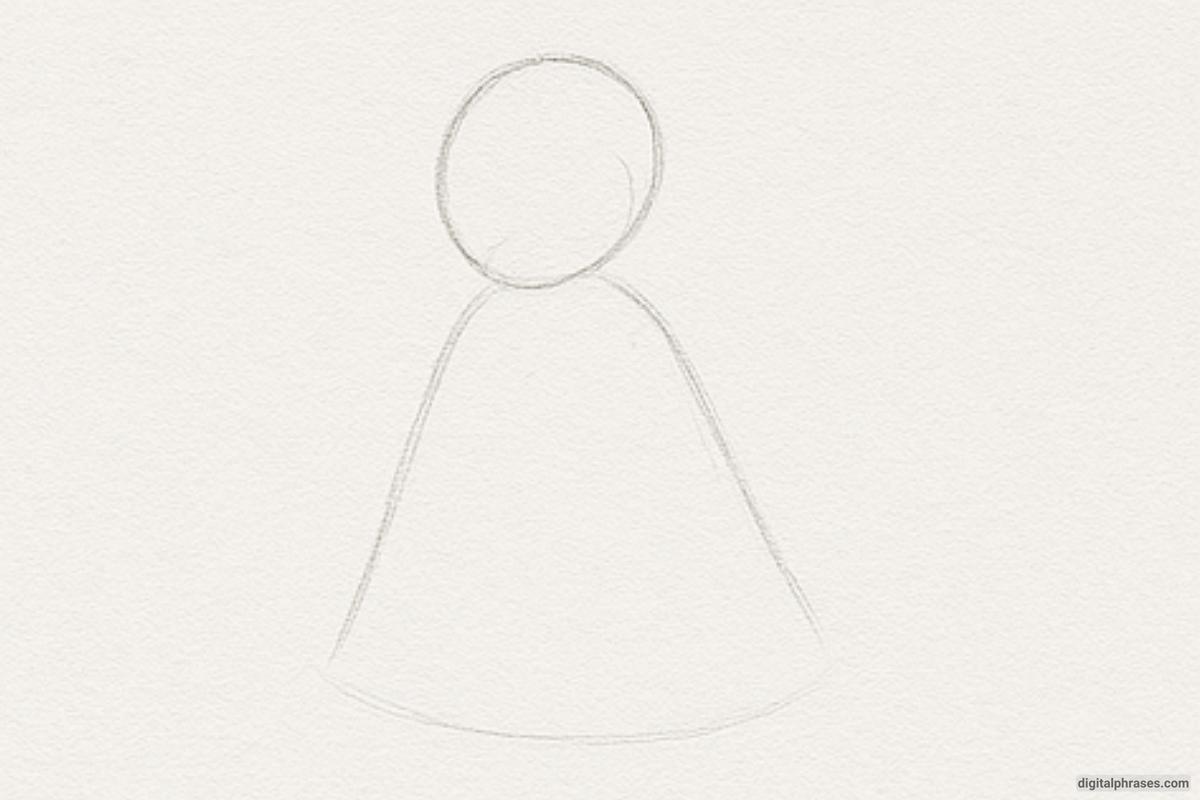
Step 1: Basic Structure
- Start with light pencil lines to sketch out the general proportions:
- Oval for the head.
- Vertical centerline and horizontal eye guide.
- Straight lines marking the arms and body.
- Loose outlines for wings on both sides.
- Oval for the head.
Step 2: Forming the Figure
- Add more structure to the angel:
- Shape the arms and dress.
- Lightly sketch in the hands and feet.
- Begin forming the wing shapes—think curved, upward arcs with feather flow.
- Shape the arms and dress.
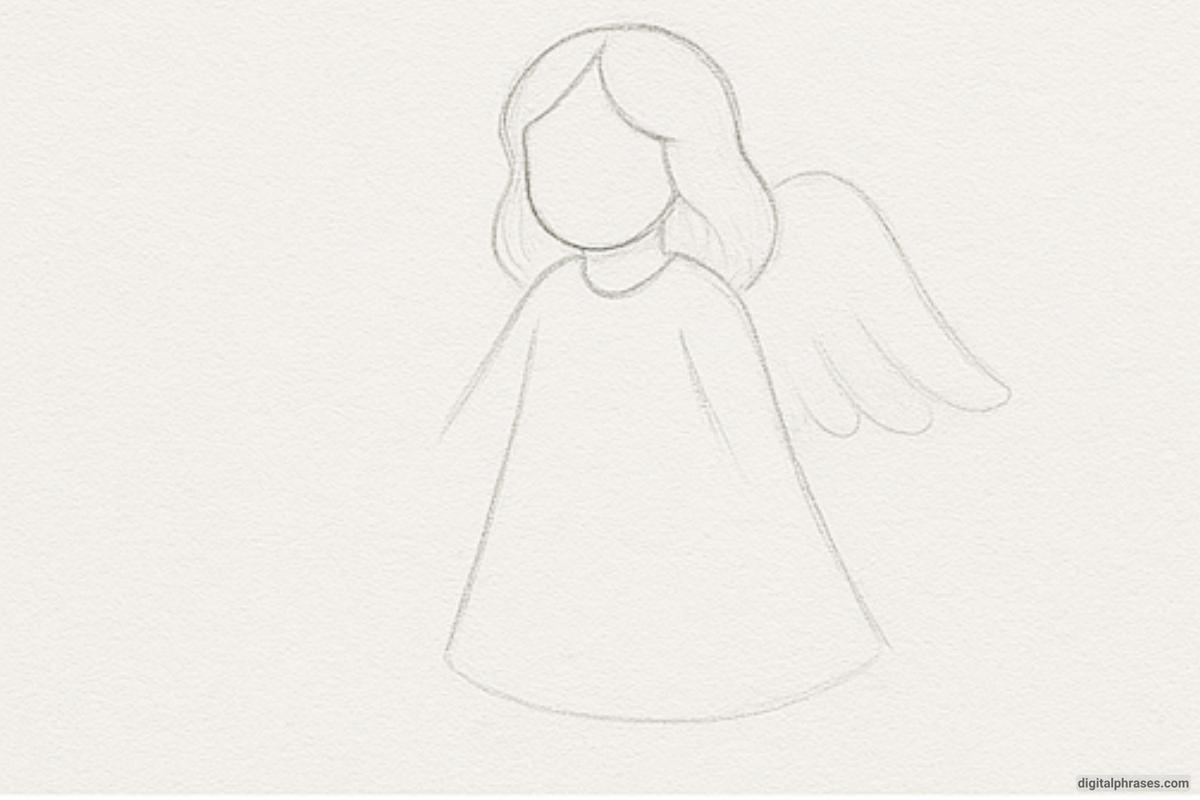
Step 3: Facial Features and Hair
- Define eyes, nose, and mouth with subtle lines.
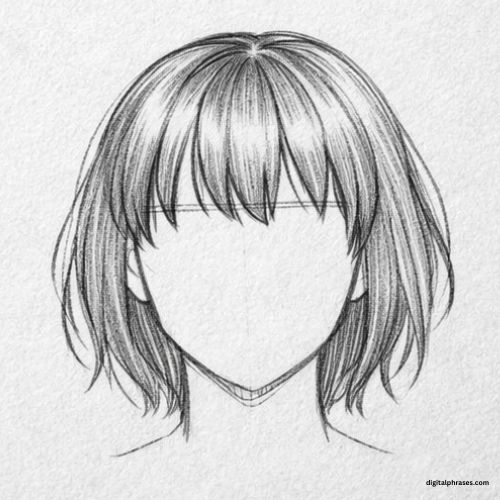
- Start working on the hair, using flowing pencil strokes.
- Sketch in a halo above the head, either as a full circle or a glowing arc.
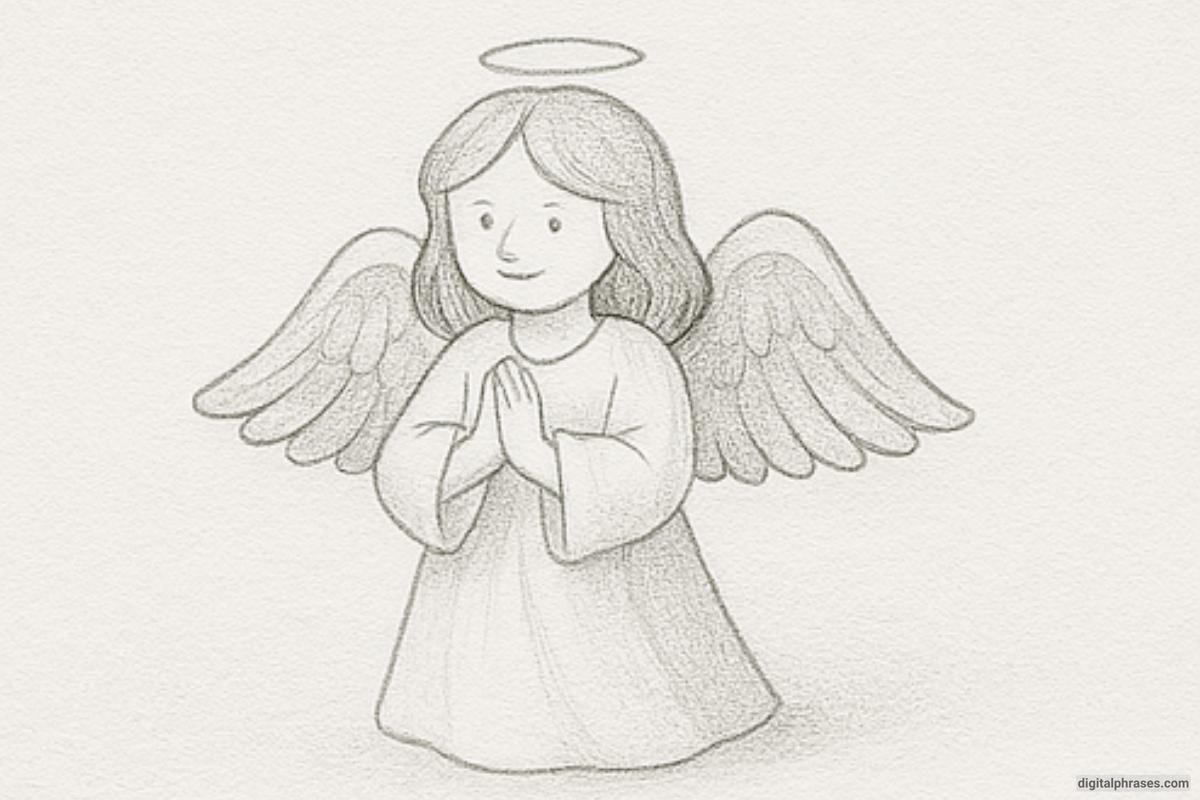
Step 4: Wings and Dress Details
- Add detail to the wings—layered feathers with varying sizes.
- Work on the dress folds, using curved lines for flow and fabric motion.
- Define hands and arms more clearly.
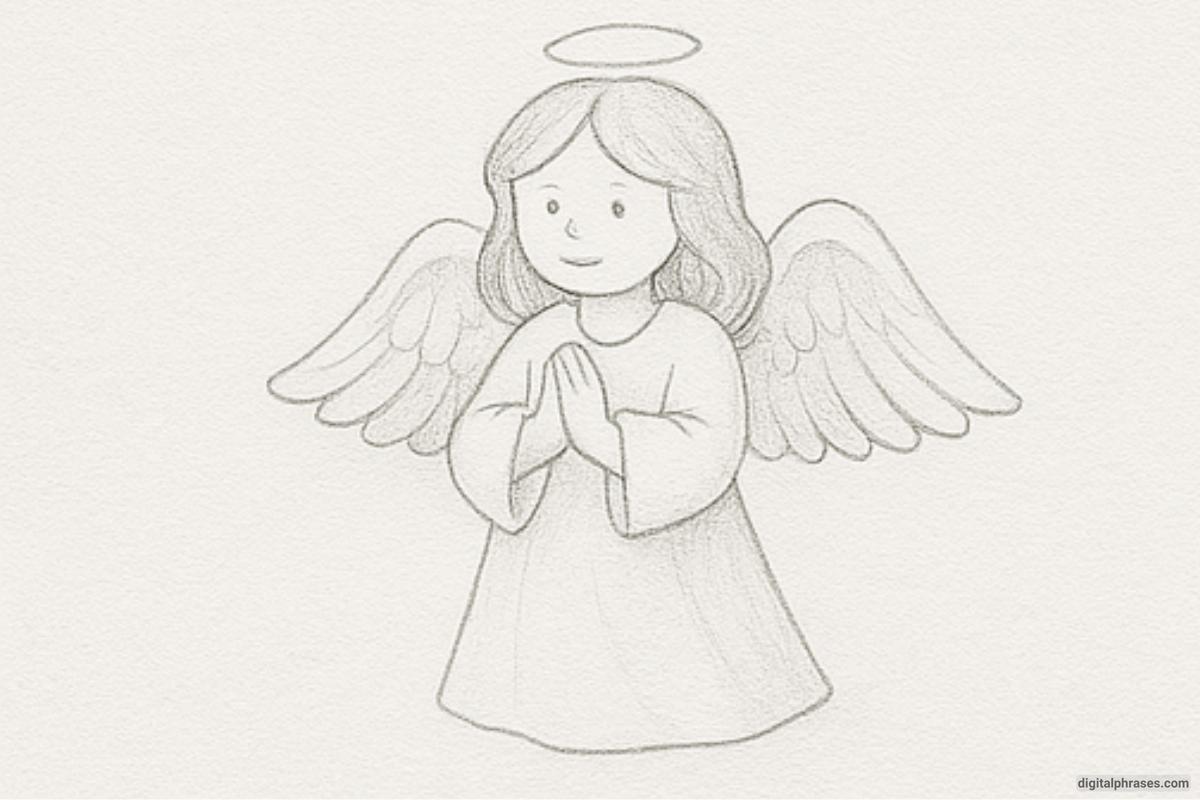
Step 5: Final Details and Shading
- Use darker pencil lines to outline the figure.
- Shade the hair, wings, and clothing for depth and contrast.
- Add texture to the feathers and highlights in the eyes and halo.
- Erase any construction lines.
