How To Draw an Anime Body
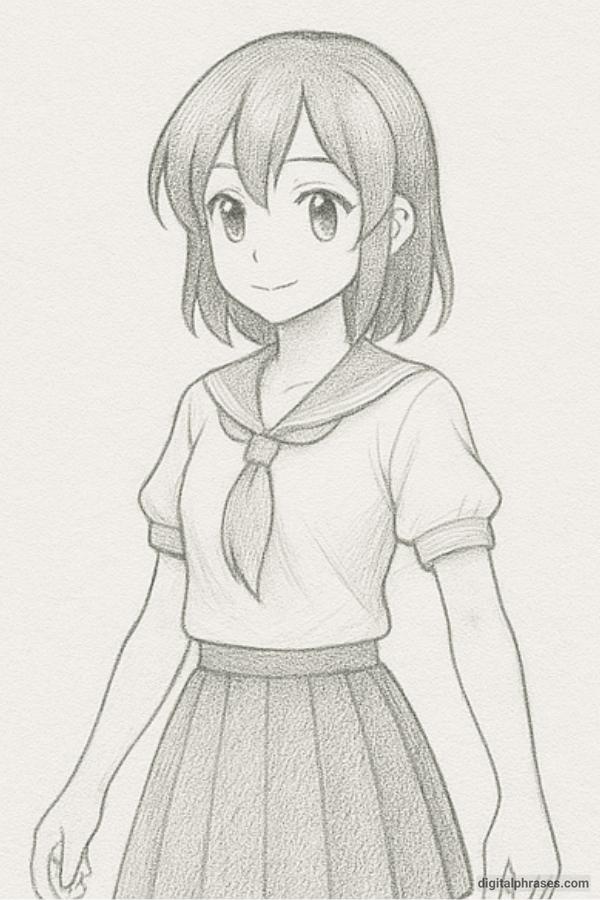
Here is a simple step-by-step process of drawing an anime body.
Step 1: Basic Skeleton (Stick Figure)
Start with a simple stick figure to establish the pose and proportions:
- Draw a vertical line for posture.
- Add circles for joints (shoulders, elbows, knees).
- Sketch arms and legs with straight lines.
- Indicate head placement with a circle.
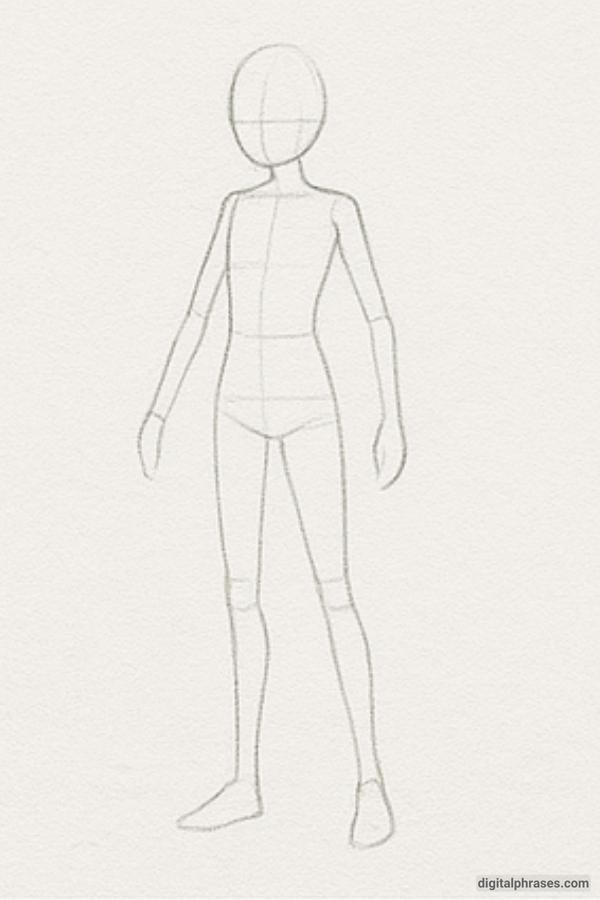
Step 2: Build the Body Structure
Using the stick figure as a guide:
- Add basic shapes for body mass: ovals for the torso, chest, and hips.
- Start shaping arms and legs using cylinders.
- Add rough outlines of hands and feet.
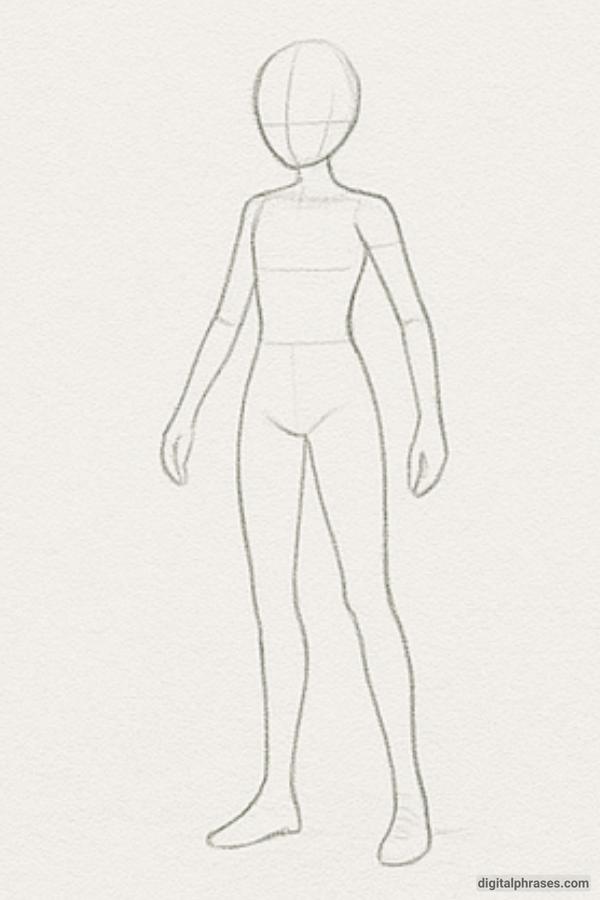
Step 3: Define the Body Shape and Details
- Refine the outlines of the figure to give it more natural form.
- Start sketching the neck, jawline, and facial guidelines.
- Add curves and joints to make the figure feel dynamic.
- Indicate the clothing lines loosely.
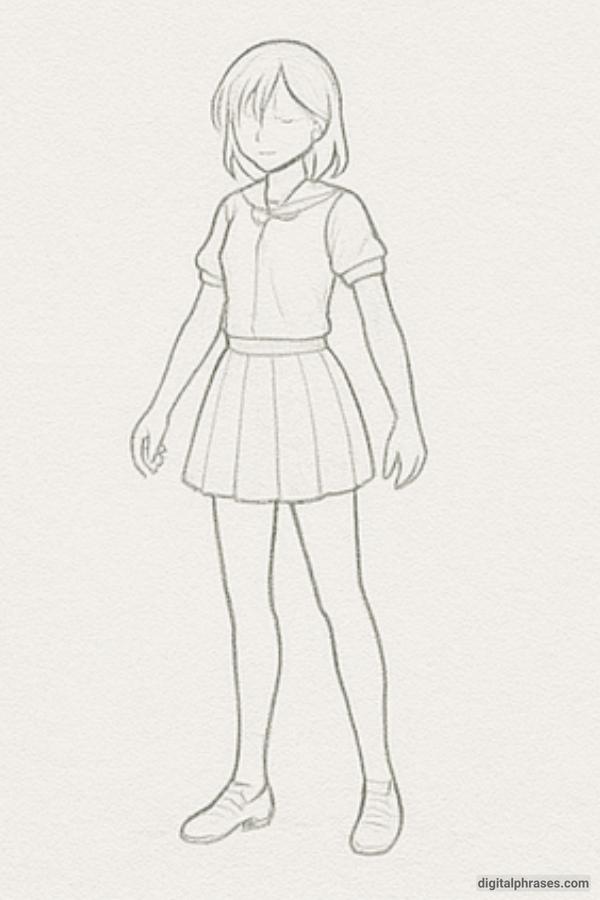
Step 4: Add Facial Features, Hair & Clothing
- Draw the eyes, nose, and mouth using the facial guide lines.
- Sketch the hair with flow and shape, typical of anime style.
- Define the outfit, adding folds, accessories, and shoes.
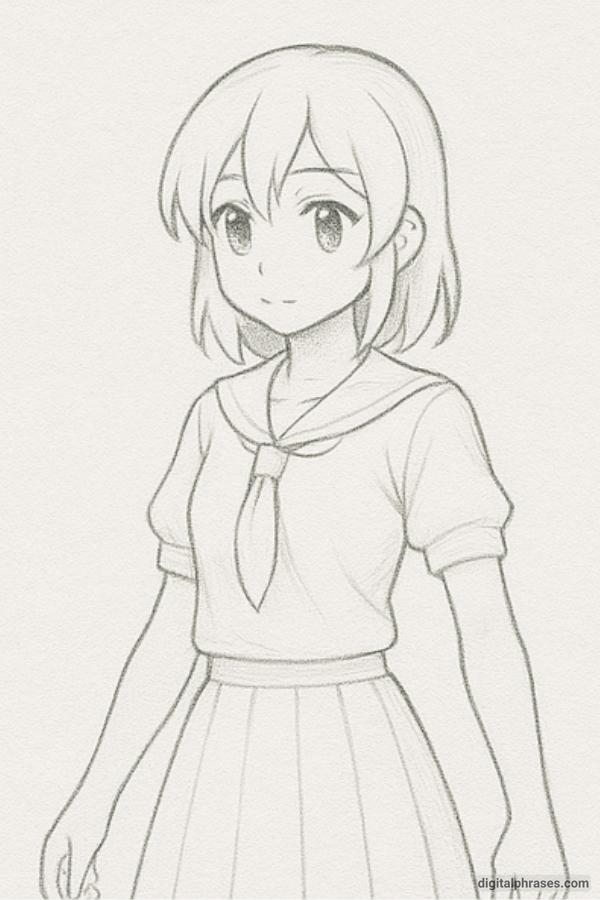
Step 5: Final Lines & Shading
- Trace over the clean final lines, erasing unnecessary sketches.
- Add light shading to suggest depth (e.g. under the chin, clothes folds).
- Emphasize important lines like eyes, hair tips, and clothing edges.
