How To Draw a Gnome
Here is a step-by-step tutorial on how to draw a gnome.
Step-by-Step Guide to Drawing a Gnome
Step 1: Start with Basic Shapes
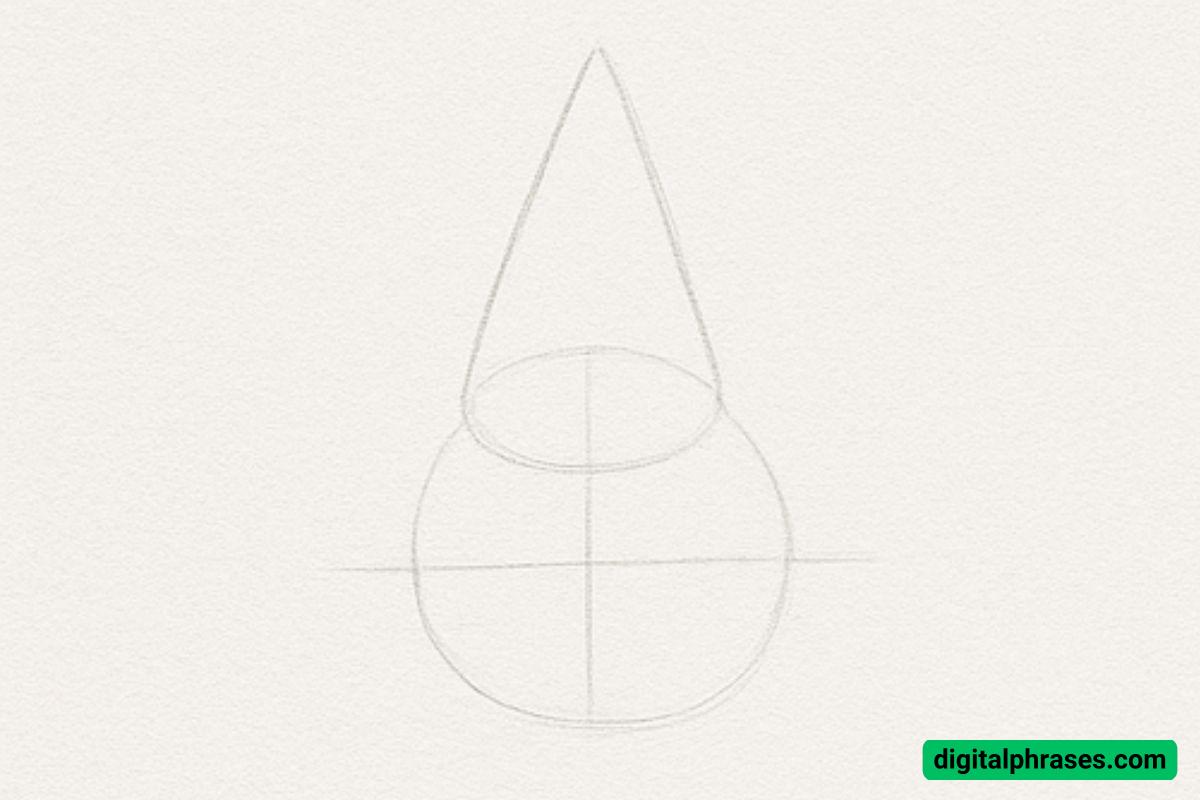
Let’s begin with the basic framework of our gnome. Lightly sketch a circle for the head and a tall cone on top of it for the hat.
These are our foundational shapes. Draw a horizontal and vertical guideline across the circle to help place facial features later.
This doesn’t have to be perfect—it’s just to help us structure the gnome’s body and balance the drawing.
Step 2: Build the Body and Limbs
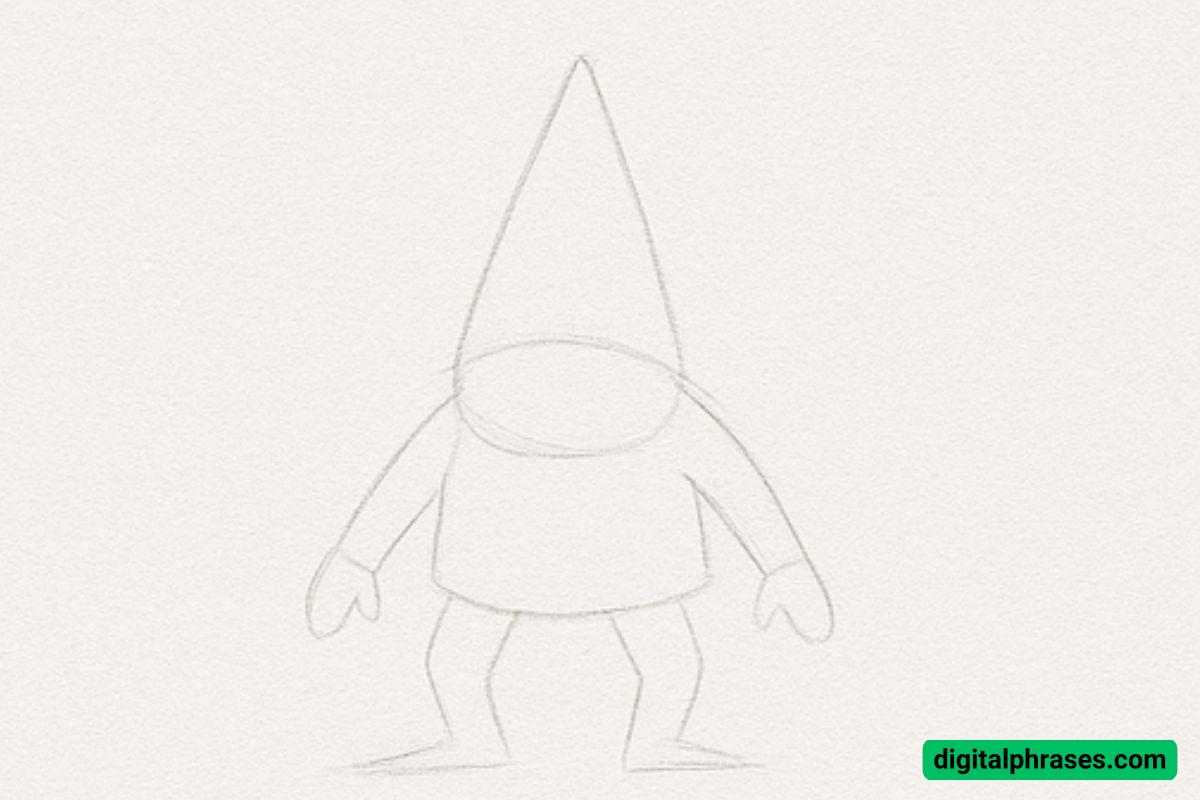
Now that we’ve got our head and hat, it’s time to give our gnome a body! Draw a rounded, slightly triangular shape beneath the head for the torso. Then, add simple curved lines for the arms ending in mitten-like hands.
The legs should be short and stocky with simple boot shapes at the bottom. Think of everything as basic shapes—this will help you keep proportions consistent.
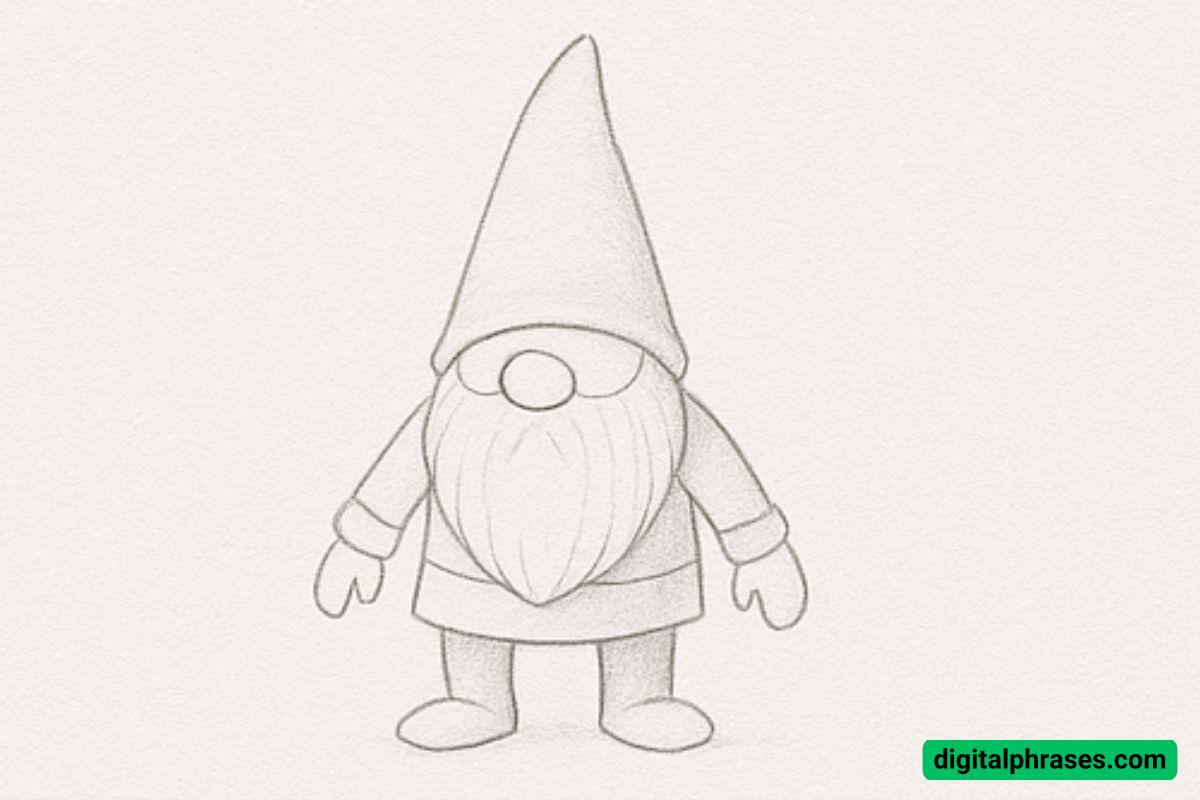
Step 3: Refine the Outline and Add Details
Let’s clean things up a bit now. Begin refining the limbs—round out the arms and make the hands more detailed, keeping them simple but shaped. Do the same for the legs and boots.
At this stage, we’re locking in the overall silhouette of the gnome, so take your time to adjust proportions and make sure the character looks balanced.
Now for the fun part—details!
Start with the face. Draw a big, bushy beard that flows down from just under the hat brim.
Add a small round nose peeking out from under the hat, and draw the coat sleeves, belt, and the cuffs at the end of the sleeves and pants. The gnome should be starting to look very recognizable now.
Keep your lines clean and build up those textures—especially in the beard and hat.
Step 4: Finalize and Shade
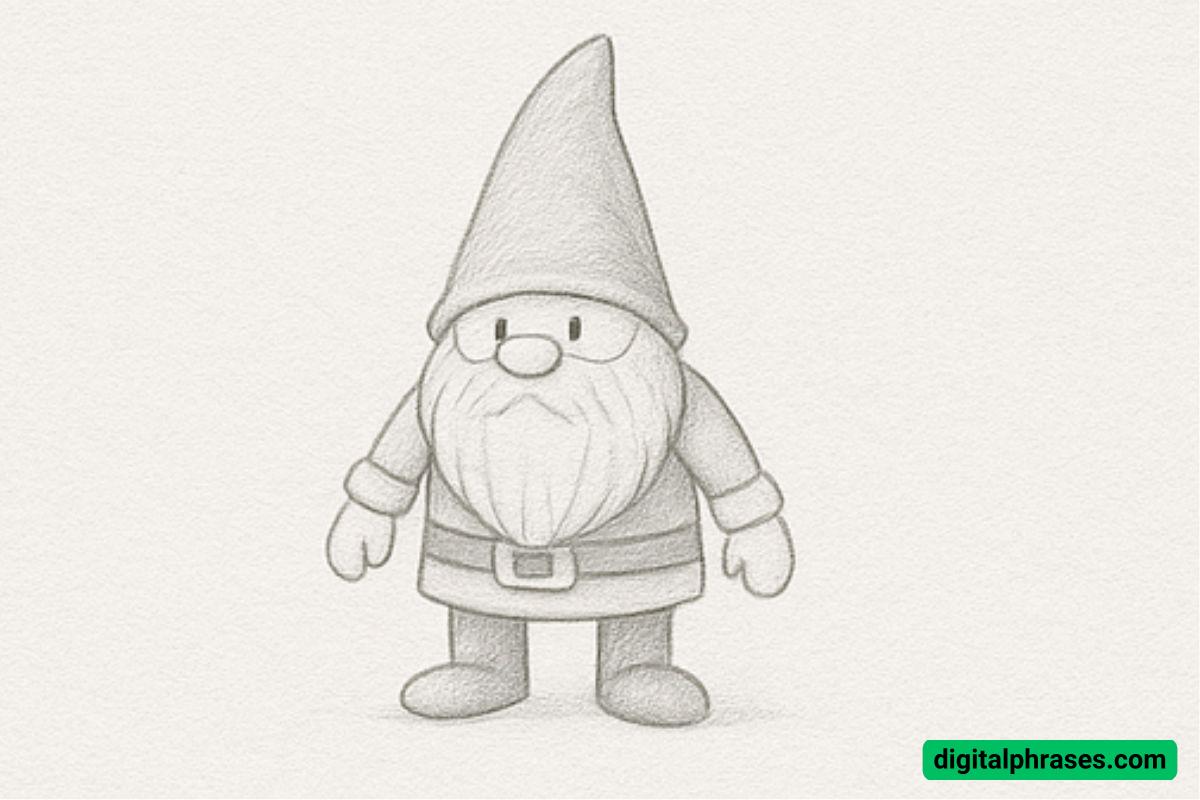
Here’s where it all comes together. Finalize the drawing by going over your lines with a darker pencil or pen.
Add in facial features like the eyes and smile. Then, carefully shade the hat, beard, boots, and clothing to give the gnome a more three-dimensional look.
Use soft shading to create volume and shadows, especially under the hat brim and around the folds of the clothes. This will really bring your gnome to life!
Equipment Needed
Based on the drawing style in the image, here’s what you’ll need:
- Drawing Paper or Sketchbook – A medium-texture paper works well for pencil sketches and shading.
- Graphite Pencils – A range from 2H to 6B for light sketches and deeper shadows.
- Eraser – Preferably a kneaded eraser for precision and clean correction.
- Pencil Sharpener – Keep those pencil tips crisp for finer lines and details.
- Blending Stump or Cotton Swab – For smooth shading and gradients in areas like the beard and clothing.
- Fine-tip Pen or Marker (optional) – To ink the final lines once the sketch is complete.
- Ruler or Compass (optional) – For initial construction lines, especially in Step 1.