How To Draw a Cartoon Boy
Here’s a step by step tutorial of drawing a cartoon boy.
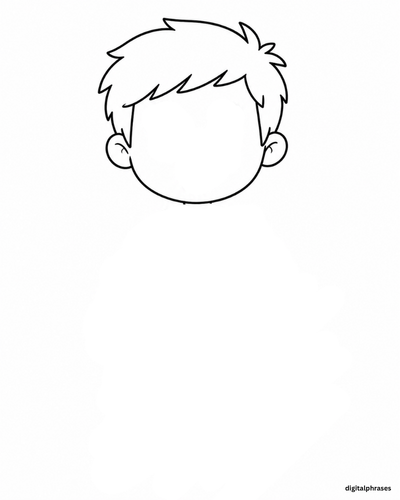
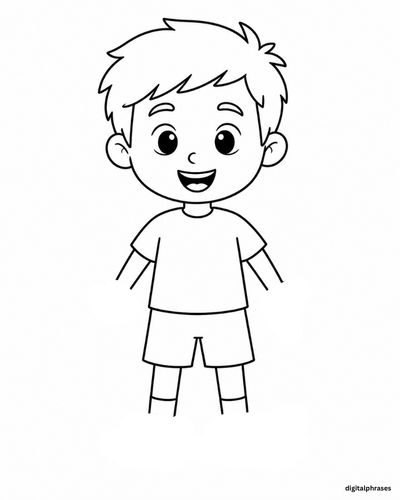
Step 1: Draw the head, ears, and hair
Begin with a large, rounded face that is slightly wider at the top and gently curved at the chin. Add a small ear on each side. Draw the hair around the upper half of the head using uneven, pointed tufts, with several locks hanging over the forehead.
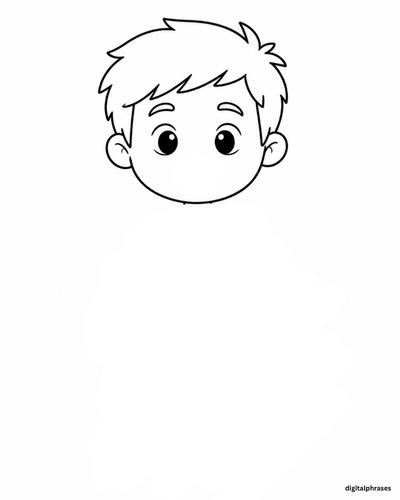
Step 2: Add the eyes and eyebrows
Draw two large vertical oval eyes. Fill most of each eye with black, leaving small white highlights to make them look lively. Add a short curved eyebrow above each eye.
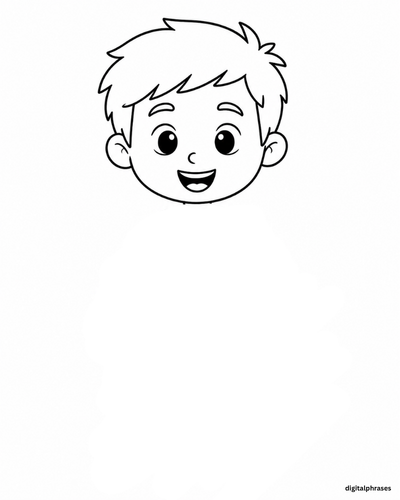
Step 3: Draw the nose and smiling mouth
Place a tiny curved nose between and slightly below the eyes. Under it, draw a wide open smile. Add the upper teeth and a curved tongue inside the mouth.
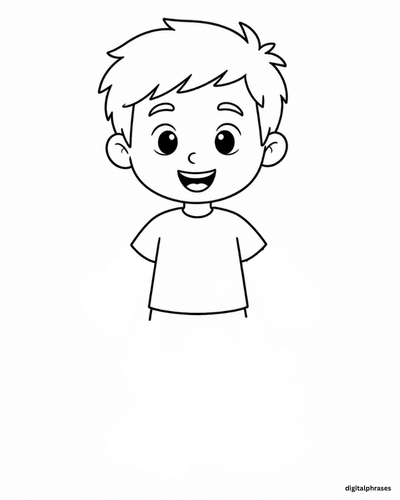
Step 4: Draw the neck and shirt
Add a short, narrow neck beneath the head. Draw a small curved neckline, then create a loose T-shirt with short sleeves. The shirt should widen slightly around the shoulders and end with a gently curved lower edge.
Step 5: Add the arms, shorts, and legs
Extend two simple arms downward from the sleeves. Below the shirt, draw knee-length shorts with a small separation between the legs. Add two straight legs and mark horizontal lines near the ankles for the tops of the socks.
Step 6: Finish the hands and shoes
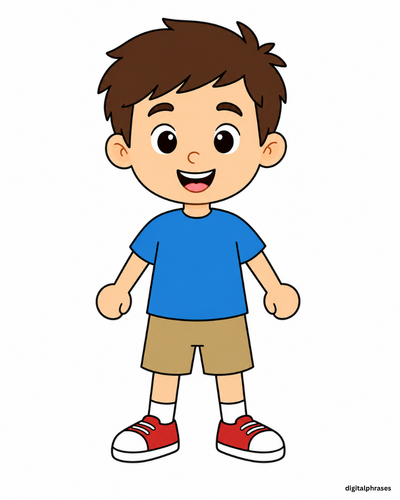
Round off the ends of the arms with simple mitten-like hands and small thumb bumps. Draw a sneaker on each foot, making the shoes slightly wider than the legs. Add soles, toe sections, and several curved lace lines.

Step 7: Color the cartoon boy
The example uses brown hair, warm peach-colored skin, a blue shirt, tan shorts, white socks, and red-and-white sneakers. The tongue is pink, while the eyes and mouth details remain black and white. These colors can be replaced with any palette you prefer.
Draw the early shapes lightly so that proportions can be corrected, then trace the final outlines more firmly and erase unnecessary construction marks before coloring.